
Creating smooth animations is essential for engaging game development, and one of the best ways to optimize your game’s graphics is by using a spritesheet tool. Whether you are a beginner or an experienced developer, understanding how to use a spritesheet tool can save you time and improve performance.
In this guide, we’ll walk you through the basics of spritesheets, how to choose the right tool, and step-by-step instructions on how to create and implement spritesheets effectively.
What Is a Spritesheet and Why Use a Spritesheet Tool?
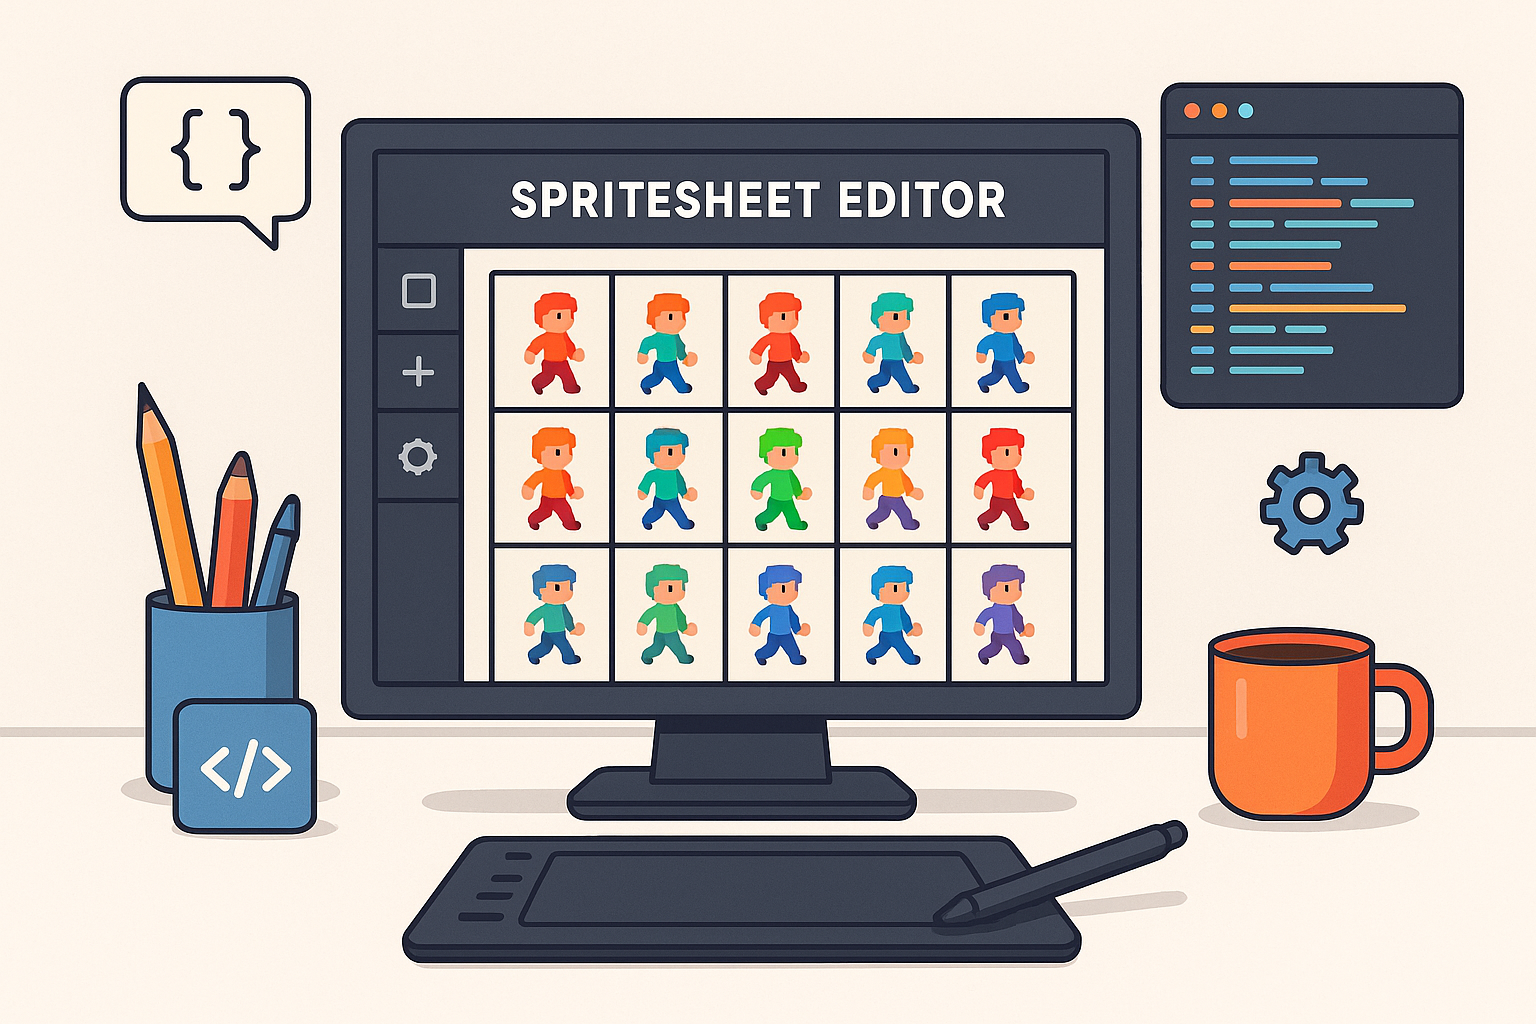
A spritesheet is a single image file that contains multiple smaller graphics or frames used for animations in games. Instead of loading many separate images, a spritesheet consolidates all frames into one file. This reduces memory usage and improves rendering speed.
A spritesheet tool helps you create, edit, and export these sheets efficiently. It automates the process of arranging frames, optimizing spacing, and sometimes generating metadata files required for game engines.
Benefits of Using a Spritesheet Tool
- Improved Performance: Loading a single spritesheet is faster than multiple individual images.
- Organized Assets: Keeps your animation frames neatly packed, simplifying project management.
- Easy Animation: Many tools generate data files that define frame positions and durations, making animation smoother.
- Reduced File Size: Optimized packing reduces the overall file size for quicker downloads.
Choosing the Right Spritesheet Tool
There are many spritesheet tools available, ranging from free open-source options to professional software. When selecting a tool, consider the following:
- Compatibility: Ensure it supports your preferred game engine or framework.
- User Interface: Look for a tool with an intuitive UI to speed up your workflow.
- Export Options: Check if it exports the spritesheet and associated metadata formats you need.
- Additional Features: Some tools offer animation preview, trimming, or automatic frame detection.
Popular options include TexturePacker, ShoeBox, and free online tools. Experiment with a few to find the best fit for your project.
Step-by-Step Guide: How to Use a Spritesheet Tool
1. Prepare Your Frames
Start by creating or gathering the individual frames of your animation. These can be PNG or other image files, ideally with transparent backgrounds.
2. Import Frames into the Spritesheet Tool
Open your chosen spritesheet tool and import all the frames you want to include. Most tools allow drag-and-drop or file browsing to add images.
3. Arrange and Optimize
The tool will usually arrange the frames automatically, but you can adjust spacing, padding, or order if needed. Make sure to optimize the layout to minimize empty space.
4. Set Export Settings
Choose the output format for your spritesheet image (PNG is common) and the metadata file format if applicable (JSON, XML, etc.). Configure settings like trimming transparent pixels or scaling.
5. Export the Spritesheet
Export your spritesheet and metadata files. Save them in your project’s assets folder for easy access.
6. Integrate into Your Game
Use your game engine’s sprite or animation system to load the spritesheet and metadata. This will allow you to play animations frame by frame efficiently.
Tips for Using Spritesheet Tools Effectively
- Keep Consistent Frame Sizes: Uniform frame dimensions simplify packing and animation logic.
- Use Transparent Backgrounds: This helps avoid visual artifacts during animation.
- Test Animations Regularly: Preview your animations in the tool or engine to catch issues early.
- Organize Your Assets: Name files clearly and maintain a clean folder structure.
- Choose the Right Resolution: Balance image quality and file size based on your game’s platform.
Conclusion
Mastering a spritesheet tool is a valuable skill for any game developer. It streamlines your animation workflow and enhances your game’s performance by reducing load times and memory usage. By following the steps outlined here and choosing the right tool for your needs, you can create polished, efficient animations that bring your game to life.
For more tips on game development and asset optimization, explore other articles on SkooledUp.com.