

Creating pixel art and animations for games or digital projects has never been easier thanks to sprite design software. Whether you’re a game developer, artist, or hobbyist, mastering sprite design software can elevate your work and bring your characters to life.
In this guide, we’ll walk you through the essentials of how to use sprite design software effectively. From understanding what sprites are to exploring popular tools and techniques, you’ll gain the knowledge needed to start crafting your own pixel-perfect designs.
What Is Sprite Design Software?
Sprite design software is specialized digital art software used to create and edit sprites — small bitmap images or animations often used in video games and other interactive media. Sprites typically represent characters, objects, or effects and are designed with pixel-level precision.
Unlike general graphic design tools, sprite editors focus on pixel art features such as grid snapping, palette control, and frame-by-frame animation support. This makes them ideal for designing retro-style graphics or detailed animations.
Why Use Sprite Design Software?
- Precision: Allows pixel-level editing for crisp, clear images.
- Animation Support: Easily create frame-by-frame animations.
- Palette Management: Manage limited color palettes common in pixel art.
- Efficiency: Tools tailored to pixel art speed up workflow.
Choosing the Right Sprite Design Software
There are many options available, each with unique features. Some popular choices include:
- Aseprite: A powerful pixel art editor with robust animation tools.
- Piskel: A free, web-based sprite editor ideal for beginners.
- GraphicsGale: Classic pixel art software with animation support.
- Pyxel Edit: Focuses on tile-based sprite creation.
Select software based on your budget, platform, and specific needs. Many offer free trials or free versions to test before committing.
Step-by-Step Guide to Using Sprite Design Software
1. Set Up Your Workspace
Open your chosen software and create a new project. Set the canvas size according to your needs—common sprite sizes include 16×16, 32×32, or 64×64 pixels. Enable grid view and pixel snapping if available to make precise editing easier.
2. Choose a Color Palette
Pixel art relies on limited colors to maintain style and clarity. Pick or create a palette that suits your project. Many tools provide preset palettes, or you can import custom ones.
3. Draw Your Sprite
Using pencil or brush tools, start sketching your sprite pixel by pixel. Focus on basic shapes and outlines first, then add details and shading. Use zoom features to work comfortably at the pixel level.
4. Add Animation Frames
If your sprite requires animation, create additional frames. Use onion skinning features to see previous frames as a reference. Common animations include walking cycles, idle poses, or attack moves.
5. Test and Export
Preview your animation within the software to check for smooth motion. Once satisfied, export your sprite in formats like PNG or GIF, depending on your project requirements.
Tips for Effective Sprite Design
- Keep it Simple: Pixel art is about clarity. Avoid overcrowding your sprite with too many details.
- Use Contrast: Make your sprite stand out by balancing light and dark colors.
- Practice Animation Timing: Experiment with frame duration to create natural motion.
- Save Often: Regularly save your work to avoid losing progress.
Common Use Cases for Sprite Design Software
- Game development for 2D or retro-style games.
- Creating icons and UI elements.
- Animating characters for digital storytelling.
- Designing assets for mobile apps or websites.
Ready to start your pixel art journey? Explore popular sprite design software options and dive into creating your own unique sprites today. For more tips on digital art and design, visit SkooledUp.com.
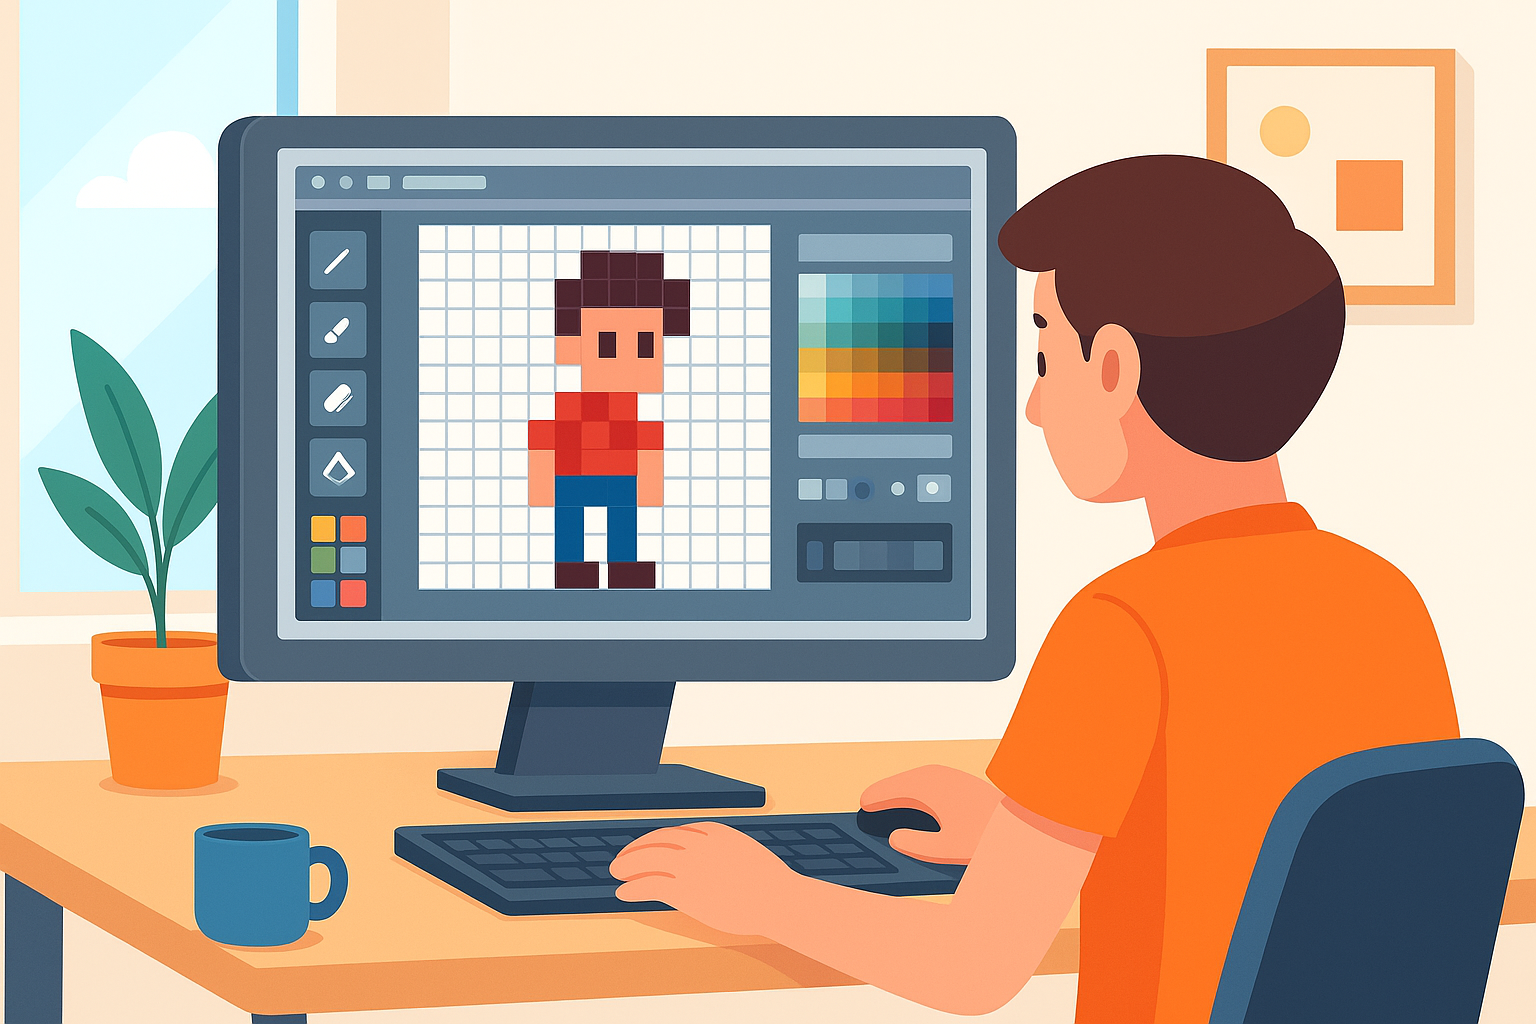
Suggested image ideas: Screenshots of sprite software interfaces, step-by-step sprite creation visuals, examples of animated sprites in motion.